
Dacast Inc. which was formerly Andolis is a live-streaming video platform that enables you to host and broadcast live on-demand videos. It also offers you a paid or free programming option.
This is not like the consumer-oriented platforms such as Facebook Live and YouTube though. Dacast is a straight business-to-business (B2B) platform that has over 155,000 video producers.
They also have some specific radio stations, school and university networks, house of worship networks as well as event production companies. It is headquartered in San Francisco and also has locations in Beijing, London, and Manila.
If you have recently opened your own Dacast account and have been wondering how to broadcast? Do not worry, this review blog will give you tips on how you can do that.
How to Broadcast Live with Dacast
In order to do a live broadcast, here are a few things you must ensure that you first have.
- A reliable Internet connection
- An RTMP encoder
- A camera
- A live channel from your Dacast account
How to Broadcast
Log in to Your Account
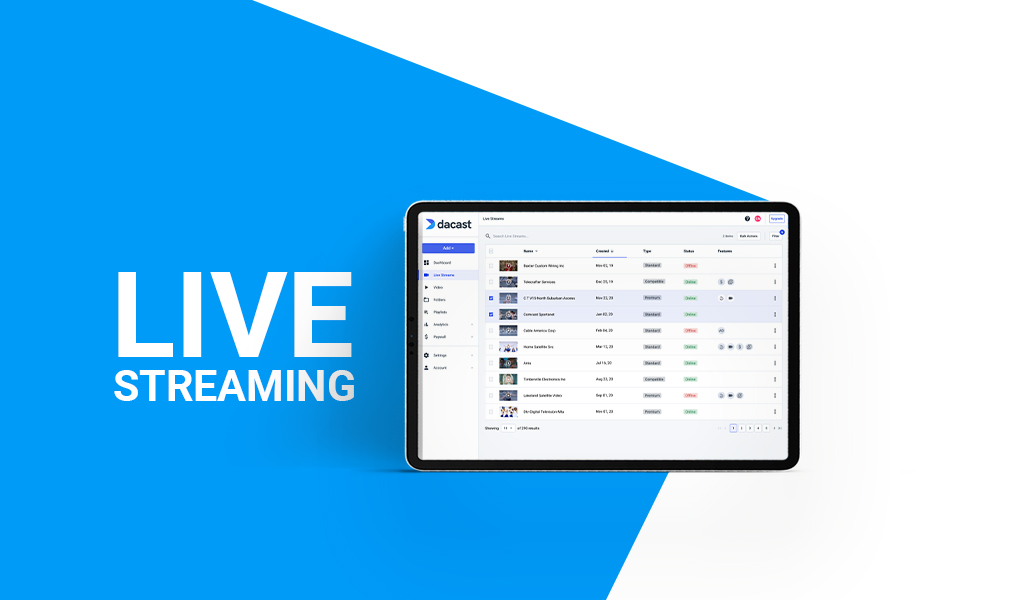
In order to set up a live streaming broadcast through your channel, you must first log in to your Dacast account.
Then, click on the “Add +” button and then choose “Live Stream.” A pop-up link will appear, and this is where you should name your channel and then choose “Standard.”
It is important to note that your channel will be turned off automatically, and this is by default. However, you can turn it on when you want, and when you are putting your channel online. The rest of the other settings are usually optional.
Publish Your Settings
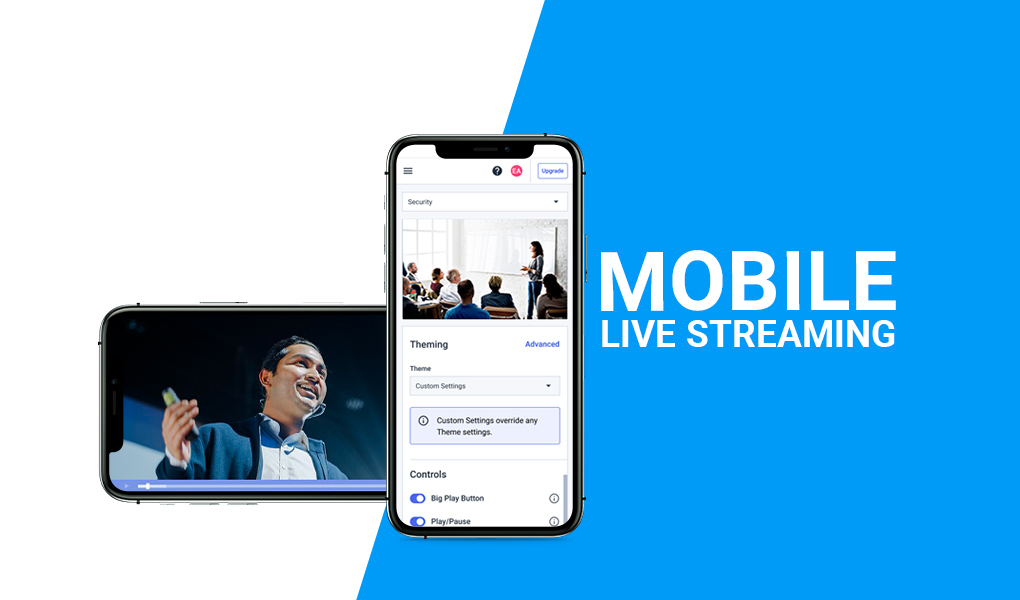
The next step is to publish settings. This chooses the controls, advanced features, and embeds that you will use.
The advanced features include website and geographical restrictions. The player themes should also be chosen here and you can also turn the autoplay either on or off as you wish.
Setting up the Encoder
This particular step of the setup consists of three main subsections.
- The publishing point and the bitrate
- Selecting an encoder
- Starting the streaming
The Publishing Point and Bitrate
On the publishing point, you will have the option to choose between the customer IP and the auto-detect. Please note that the latter option can be able to take up to 2 hours in order to be fully effective.
For the bitrate, please note that you can automatically encode the bitrate’s resolution and the aspect ratio as well to stream.
Selecting and Encoder
You then have to select the encoder. In case you have never used it before, then it’s likely that you are better off with an OBS Studio. This is however a feature-rich encoding software that is usually free of charge.
It does work well with the initial tests for long-term use. Once the encoder is selected, the process will then launch you onto the final step with is using the encoder.
Also read: Learn How to Watch American Football Online
Start the Streaming
It is now time for the most extensive part of the process. The how-to-do a live stream set up. This will involve linking the Dacast account to your encoder. It will vary based on the type of encoder you are using.
You should start by downloading the XML Profile on to the computer. This will save the Dacast channel profile on the computer and it will also help you in configuring the encoder.
The last steps are; Launching the OBS Studio and video Monetization. These ensure that you can make some money from the process.
Conclusion
That’s it! That is the process of broadcasting live with a Dacast platform. It may seem complicated, but it’s really not that complicated. All you have to do is follow the steps above in order to do your very first live broadcast.


